LATEST SHOOT NEWS: Currently seeking models. Get in touch.
CT Magazine is Relaunching Soon. Get in touch be featured.
LATEST BLOG NEWS: To Edit or Not To Edit – Check it Out Now
Sean J Connolly PhotographySean J Connolly PhotographySean J Connolly PhotographySean J Connolly Photography
  • About Me
  • Portfolio
    • Fashion and Lifestyle Photography
    • Location Photography
    • Event Photography
  • Google + 360 Photography
  • Blog
    • Resources
  • Contact
  • About Me
  • Portfolio
    • Fashion and Lifestyle Photography
    • Location Photography
    • Event Photography
  • Google + 360 Photography
  • Blog
    • Resources
  • Contact

Experimenting with Steel Wool Photography

  • 0 comments/
  • October 27, 2015

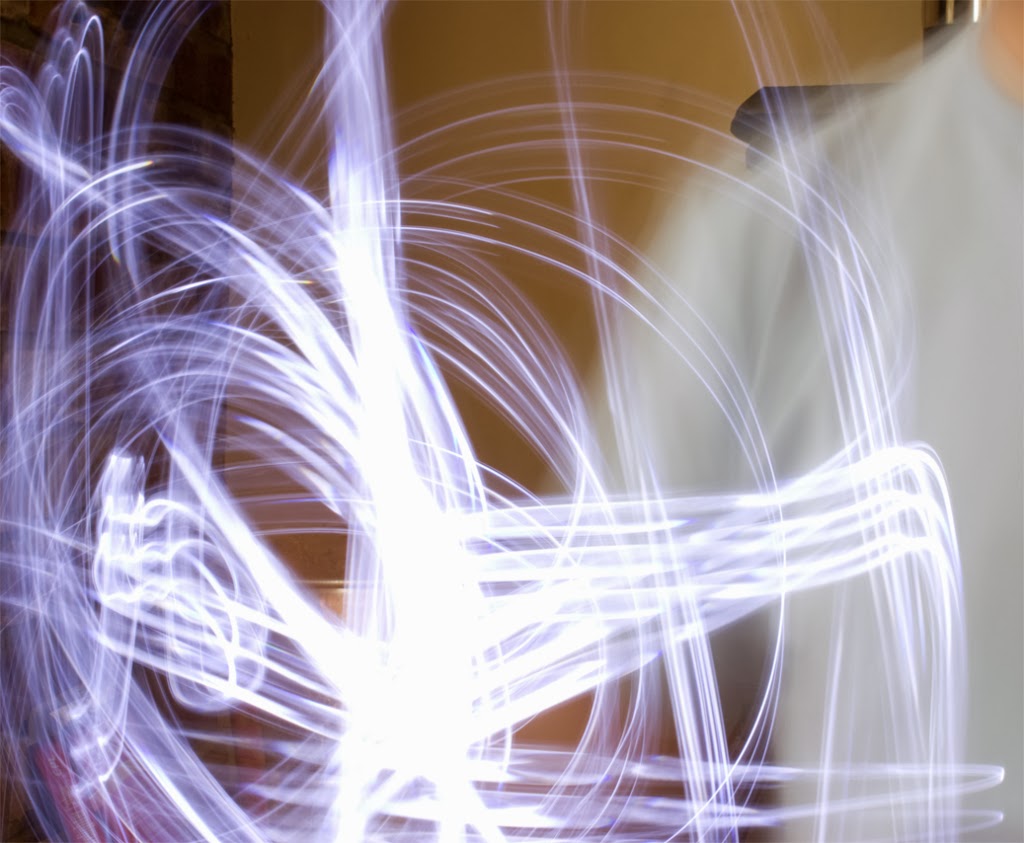
As its that time of year again, and the nights are drawing in and the clocks have changed. I thought I would have a bit of a play with something I have never tried before. Shooting with long exposure steel wool, and I think the results for my first try are not too bad.

I will play around with it a bit more and add my creative spark (lol) to it and I know its something I am going to love playing around with.

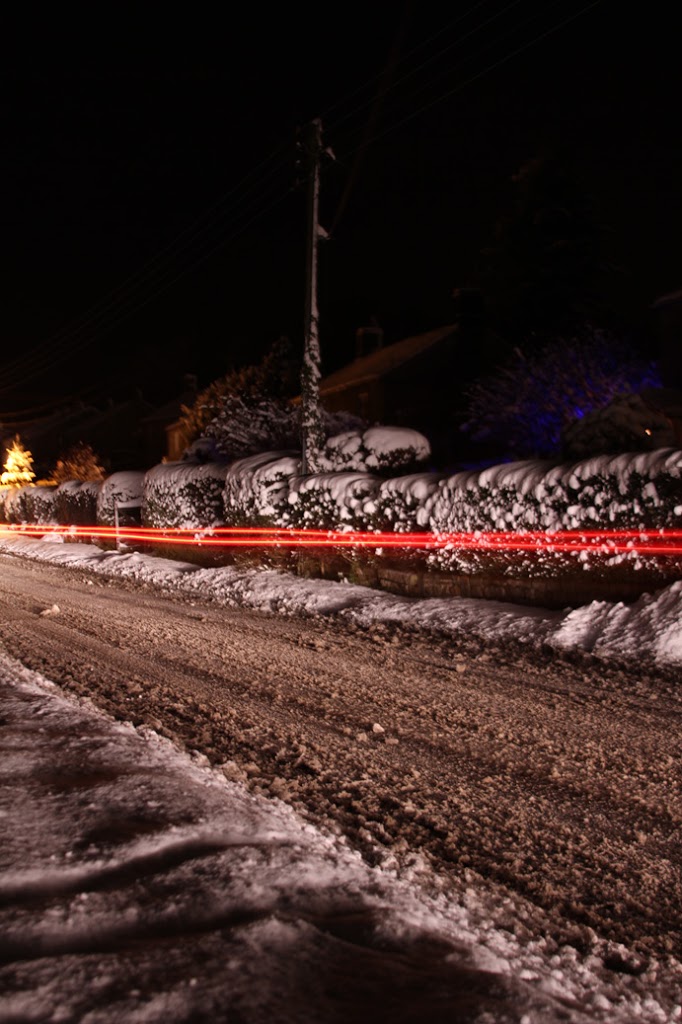
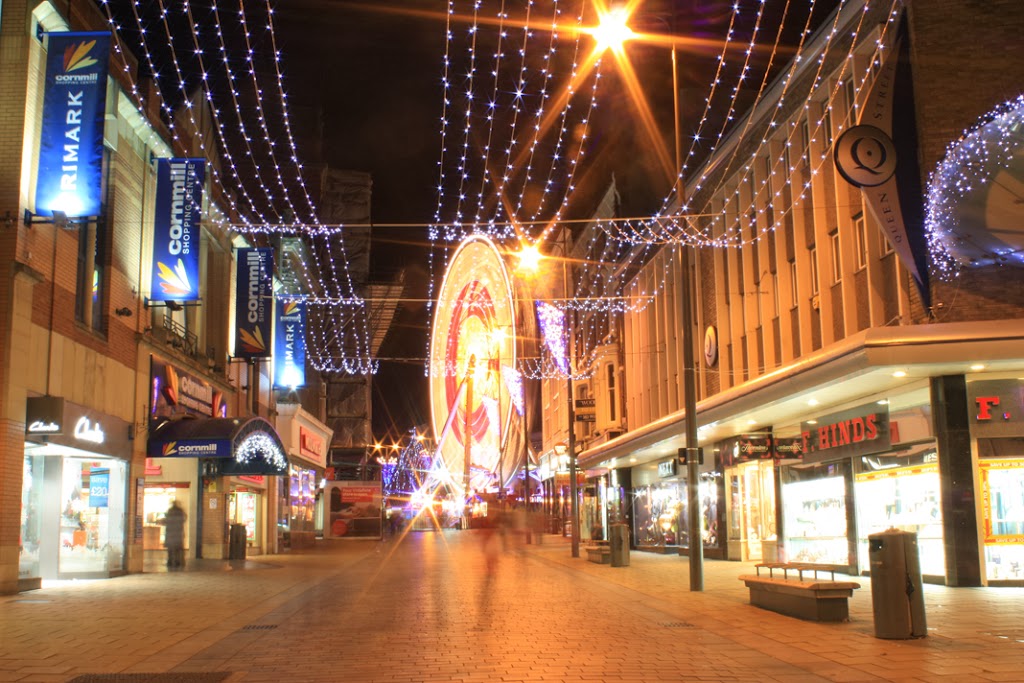
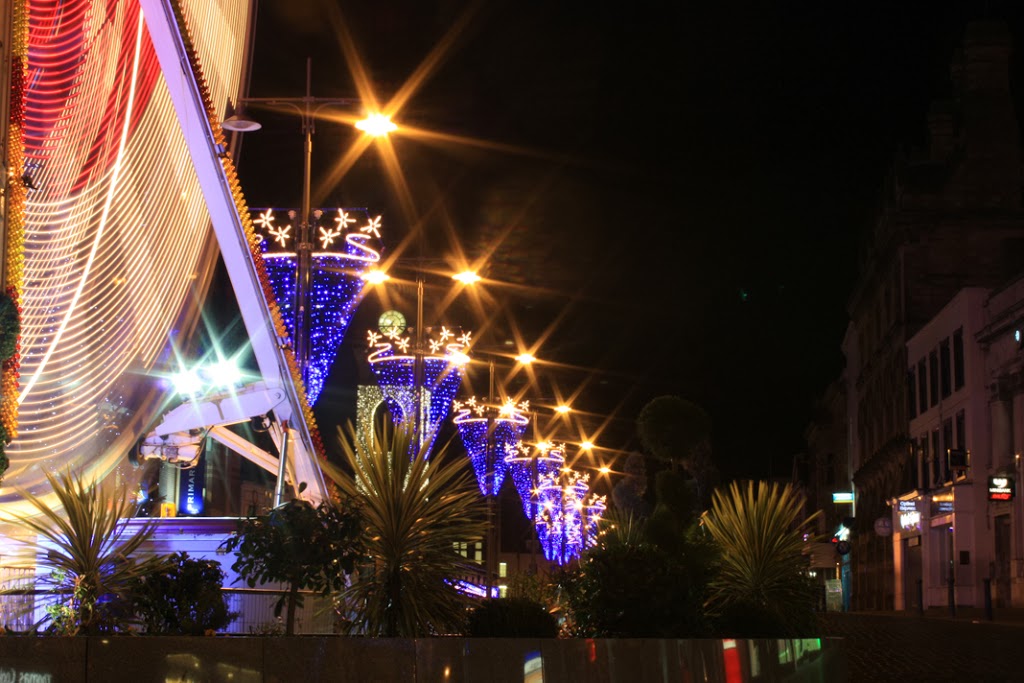
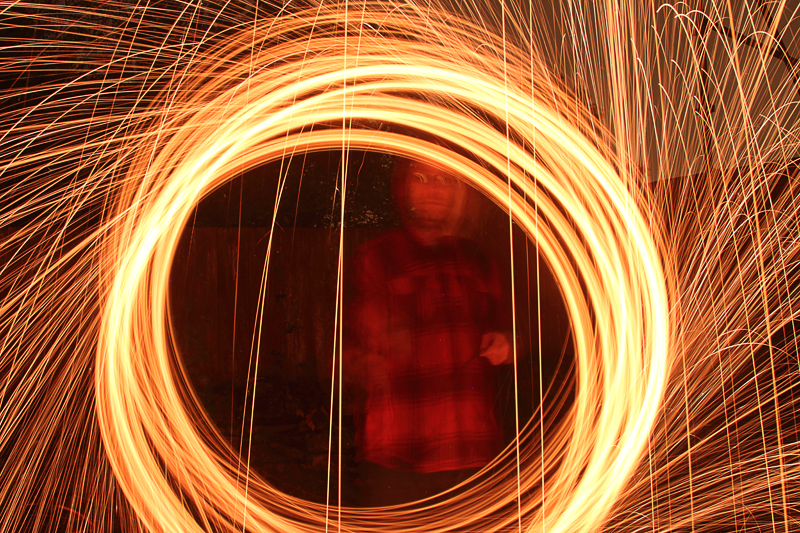
So here are my first few attempts

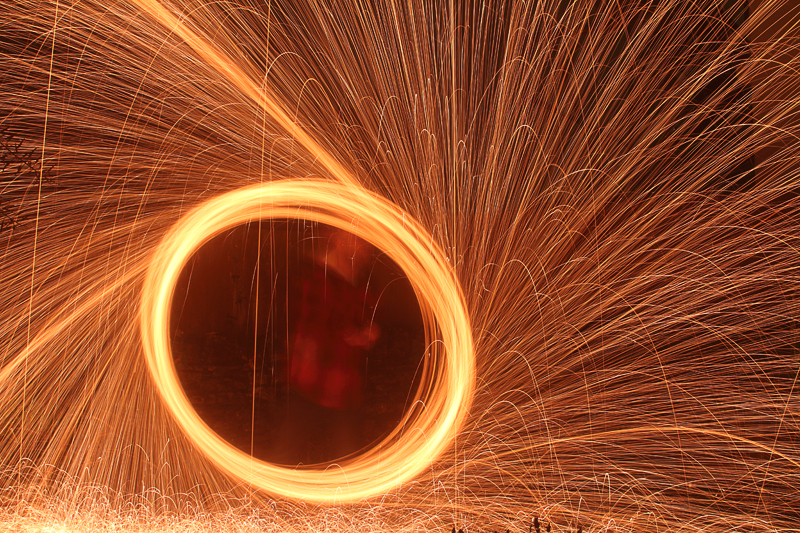
Not too bad for my first attempt.
But a few works of caution.
  1. Always wear clothing that covers all your body, including a hat and gloves. The sparks can get really hot.
  2. Do your shots in a large area: The sparks fly a lot further than you think, and if you get some bit of steel flying off you could have a fire on your hands
  3. Carry a fire extinguisher or have some method to tackle fires.
So I will continue to play with this and post back my shots.
  • Under : burn, fire, how to do steel wool photography, light, long exposure, sparks, steel wool photography

How to Create Light Trails in Photos aka Light Painting.

  • 0 comments/
  • December 29, 2013

You may have seen photos with streaks of light in the frame, such as car tail light trails, star trails, light drawings, etc. This is a form of long exposure photography known as Light Painting or Painting by Light.

So I thought I would write a simple tutorial on how you can achieve this with your camera, and whilst the actual shots look cool the technique is not really all that difficult to do.

What is Light Painting?

You may or may not have heard of the term ‘Light Painting‘ or ‘Paint by Light’ but it is the technical or posh term for doing long exposure photography that causes light trails or light streaks in photos.

Something like the ones below are done using Light Paint techniques


As you can see the effect you get from light painting is the light stays in the frame longer which create a light trail or star, depending on the light source.
So how do you do this?
Prerequisites
There are several things you need to check as prerequisites to your light painting before you can starts, these are
  1. Camera – although you don’t strictly need a DSLR to start your light painting journey, you do need a camera that has some manual adjustment on it, this normally takes the form of a dial on the top of the camera with settings such as M, TV and AV not to mention others. 
  2. Tripod – Although you can do light painting by placing you camera on a stable surface, a tripod makes your life a whole lot easier, and it doesn’t have to be a carbon fibre all singing all dancing one, even a small mini tripod will do the trick, as long as it holds the camera at the right height and still it will do the trick.
  3. Torch or other light source – this is something to play around with, but for this tutorial you just need some form of light you can move in front of the camera.

The 290 range of compact, reliable tripods is designed to accompany passionate new photographers keen to improve and progress.

Setting your camera up for Light Painting / Long Exposure

Ok assuming you have checked your camera has the necessary settings here is what you need to do to get ready for your light painting.

Note: we are going to do this the easier way possible, as it is possible to use Full Manual mode but we will stick to using a semi auto mode for this tutorial,

  1. Turn your camera Dial and select TV mode (although you can select M if you are happy to use full manual)
  2. Turn the rear dial on the camera until you see 1″0 somewhere on the rear screen, normally at the bottom of the screen. You can do this by turning the dial on the back of your camera, if you look at the rear screen of your camera and turn this dial you will see the numbers on the screen change. They will read something like 1″0 or 1/80. If you don’t know the number shown is seconds so the number 1″0 is 1 second and 1/80 is 1 80th of a second, this is the time that the shutter on the camera will remain open after pressing the shutter release button. Basically anything showing lower than about 1/80 such as 1/60 or 1″00 means that the camera should really be on a tripod, but this depends on how steady you can hold the camera. 
  3. Set your camera to Auto Focus
  4. Put your camera on a tripod or other stable none moving surface such as a wall.
OK thats it you are all set to do some light painting
How to do Light Painting?
The main secret to light painting is to keep the camera still and move the light source, this way most of the frame will be in focus whilst the light appears to move through the frame. So how do you do the actual light painting? I am going to tell you a few simple steps to get you on your way and test your setup and light painting.
  1. Set your camera up on the tripod, making sure to allow enough room in front of the camera for you to move the torch around without knocking over the camera.
  2. Press the shutter release button on your camera and quickly run in front of your camera into the frame of the shot and swing the torch around in the direction of the camera, of course the torch needs to be switched on. Something like this
As you can see the light streaks in the frame, and that my friends is how to light paint.
Note: if you find that you don’t have enough time to get into the frame, either get someone else to press the shutter button or simply move the rear camera dial and select a longer shutter time something like 3″0.
So What Next?
Well all you need to do is remember that the secrets to light painting are as follows
  1. Make sure your camera is kept still ideally on a tripod.
  2. Set your shutter speed using the TV (Time Value) setting on your camera to 1″0 or longer.
  3. Press the shutter button and move some light in front of the camera. This can be a torch, traffic, stars or any other light source that moves.
So just go nuts, and have a play around. If you have any questions just let me know.
  • Under : artistic photography, car trails, how to use the TV setting, light blurs, light painting, light streaking, light streaks, light trails, long exposure, night photography, paint with light, time value

Lighting

  • 0 comments/
  • October 28, 2011

As every good photographer will know the word photography actually means “writing with light” and this means that one of the most important things you can get right in order to get a great photograph is the lighting.

For an excellent video guide please check out this great series of tutorials by the Better Photos Academy

Lighting comes from two main sources ambient and artificial, and being able to control your lighting is the key to your photos being great rather than good.

Ambient Light
This is very simple to understand but difficult to master, ambient light is using the light from available light sources that occur naturally in your environment, this can be light from street lighting, light from the sun, the moon or anything else that is around that you do not have direct control over.
The simple fact that your do not have direct control over ambient light means that you have to use otherways to bring some form of control to the lighting.
Reflector

Multi Purpose Reflector

The most common way to control ambient light is with a reflector / diffuser, this small or large piece of kit allows you to reflect the light to exactly where you want to, and some reflectors are multi purpose and have an in built diffuser which allows you to scatter the light more evenly across your subject.

A multi purpose reflector works usually in one of the following ways

  1. Directly reflects the light to where you want it, normally done using the silver side.
  2. Reflects the light but softens its colour, normally done using the white side.
  3. Reflect the slight and adds a gold / yellow tinge to it, normally done with the gold side
  4. Diffuses the light by softening it, normally done by using the internal part
  5. Remove light from your subject by absorbing it, normally done with the black side.
Without / With Reflector

As you can see from the above portrait sample shot the image on the left is dark in the front, whilst the image on the right has a nice even lighting

Now although a reflector is the most common tool used to control ambient lighting, you can pretty much use anything you like to get the desired effect, even closing curtains is a way to control ambient light in fact you can just play around with everday objects to give you the right lighting.

In Camera
Althought this may sound obvious the best way to play around with  ambient or available light is to change the camera setting, this may mean using a smaller or larger aperture or changing the shutter speed, by adjusting in camera setting you can also control directly the ambient light entering the camera to get the desired effect.
The simple rule of thumb is

  1. Slower shutter speed will let more light in / Faster shutter speed will let less light in
  2. Smaller aperture number = wider aperture which lets more light in
  3. Higher aperture number = smaller aperture which lets less light in
  4. Hgher ISO number will give lighter photos, but also add noise to your shots.

Note when shooting at slow shutter speeds remember to put your camera on a stable platform or tripod

Changing Shutter Speed – Long Exposure

As you can see in the example above by using a slower shutter speed the ambient light can be made to look really cool. So remember that the only limit is your imagination so go nuts.

Artificial Light

When time calls for it and the ambient or available light is insufficient for your needs there are two main choices when it comes to lighting your subject, flash / strobes and continuous lighting.

Flash / Strobes
A flash / strobes is the common term for a portable unit that provides light directly in connection with your camera shutter, these come in all shapes and sizes but have common features and functions which I am going to talk about here.

Ok I will start by giving you an over view of the most common function on modern flash units, I will start at the bottom left of the diagram and work clockwise.
On / Off Switch
This switch is used to turn on or off the flash unit, when switch on the flash will normally make a high pitched sound until it is ready to fire.
Flash Ready / Test
This button has two purposes the first is it will light up when the flash unit is ready for use, the second is that when it is lit up it can be pressed in order to test fire the flash.
Flash Zoom (optional)
This button is used when the flash in in manual mode to zoom or move the flash head inside the flash, this allows the flash to cover either a narrower area or a wider area.

Note Not all flash units are zoom units and have this function, also this option will be controlled by the flash when not in manual mode.
Mode
This is used to switch the flash mode, normally used to select between ETTL (auto) and manual modes.
F/Stop
This button is sometime labelled power and allows you to control the output level of the flash when in manual mode, most units support anything from full power to 1/16 of full power, someother units can step down a bit further to reduce the power up to 1/32 of full power.
Note – the measurement is a percentage of the full output, 1/1 being full power.
ISO (optional)
This allow the light sensitivity of the flash to be change as needed
Alert (optional)
This allows the noise and alerts on the flash to be alerted.
Back light
This turns on and off the flash back light, this is only available on flash units with an LCD screen.
ETTL – Evaluatitive Through The Lens

This indicates that the flash is operating is full auto mode and directly in sync with the camera, this mode is only supported by the flash being connected as follows.

  1. On the camera Hot Shoe connector
  2. Tethered to the Hot Shoe connector via a cord
  3. Connected to the camera via a wireless trigger that supports ETTL.

Note – ETTL simply means that any adjustments made to the camera will be automatically done tot he flash, such as focal length, etc.
Slave / Master Switch (optional)

This changes the flash from being either the main flash unit in the set to the slave unit, simply put if your flash has this option it can be remotely fired by other flash units, there will be a infrared sensor on yoru flash either the side or front that must be in the line of sight of other units. When the other flash unit fires this unit will also fire.
The above is only a guide to the flash units, most work in the same way, but will be laid out differently, but in essence the principles are the same for all.

Ok that concludes the basic workings of your flash, the other things to look for in your flash and to know about is as follows.

Guide Number – this is the effect distance your flash can cover when your camera ISO is set to 100, normally expressed in feet ie 48 feet.

Gels – these are attached to give the flash a colour light rather than the typical white light, if you look at reflector photo above you can see it is back lit in blue, this is done using a gel.

Flash Gels

Continuous Lighting

This is the form of lighting that is always on, it can come from a variety of sources, it is something to play around with and use what ever you have around to light your subject, some of the more common continuous light sources are

  1. Purpose built continuous lights, unlike stobes these do not cycle with your camera.
  2. torch
  3. Anything else you like that gives off light.
Playing around with lighting

The shot above shows use of other forms of continuous lighting, again it is only limited by your imagination.

  • Under : ambient, artificial, available, camera, continuous, flash, guide number, how, iso, light, lighting, long exposure, photo, strobe, subject

  1. DSLR Controls
    1. Front Controls
    2. Back / Rear Controls
    3. Top Controls
    4. Left Controls
  2. Camera Talk
    1. Why Buy a DSLR
    2. Canon or Nikon?
    3. Camera Lens
    4. Canon 7D Soft Focus Fix
  3. Learning Zone
    1. Photography Golden Triangle
    2. Photography Tips
    3. Common Photography Terms
    4. Types of Photography
    5. Lighting
    6. F-Number to F-Stop Chart
Notable Posts
  • How to Reduce Light Stops Entering Camera by Using F-Numbers
  • Using Polarizing Filters to reduce Reflections when shooting through glass
  • How to Setup Canon 7D to take HDR shots / Bracketed Exposure
  • Spofforth Castle Wetherby Fashion Shoot – Jenna Duffin
Recent Posts
  • To Edit or Not To Edit – That is the Question!
  • Photography Tips for Beginners
  • Photography Golden Triangle
  • Reviews
  • Smoke Bombs and High Fashion
Archives
  • February 2019
  • January 2019
  • December 2018
  • November 2018
  • August 2016
  • March 2016
  • October 2015
  • June 2015
  • May 2015
  • July 2014
  • April 2014
  • December 2013
  • May 2013
  • March 2013
  • December 2012
  • November 2012
  • October 2012
  • September 2012
  • July 2012
  • June 2012
  • May 2012
  • April 2012
  • March 2012
  • February 2012
  • January 2012
  • December 2011
  • November 2011
  • October 2011
Privacy Policy
Copyright Sean J Connolly Photography 2018. All Rights Reserved